
‘Then it was not made, not made’—Pippin hesitated—‘by the Enemy?’
‘No,’ said Gandalf. ‘Nor by Saruman. It is beyond his art, and beyond Sauron’s too. The palantíri came from beyond Westernesse, from Eldamar. The Noldor made them. Fëanor himself, maybe, wrought them, in days so long ago that the time cannot be measured in years. But there is nothing that Sauron cannot turn to evil uses. Alas for Saruman! It was his downfall, as I now perceive. Perilous to us all are the devices of an art deeper than we possess ourselves. Yet he must bear the blame. Fool! to keep it secret, for his own profit. No word did he ever speak of it to any of the Council. We had not yet given thought to the fate of the palantíri of Gondor in its ruinous wars. By Men they were almost forgotten. Even in Gondor they were a secret known only to a few; in Arnor they were remembered only in a rhyme of lore among the Dúnedain.’ […]
‘Easy it is now to guess how quickly the roving eye of Saruman was trapped and held; and how ever since he has been persuaded from afar, and daunted when persuasion would not serve. The biter bit, the hawk under the eagle’s foot, the spider in a steel web! How long, I wonder, has he been constrained to come often to his glass for inspection and instruction, and the Orthanc-stone so bent towards Barad-dûr any save a will of adamant now looks into it, it will bear his mind and sight swiftly thither? And how it draws one to itself! Have I not felt it? Even now my heart desires to test my will upon it, to see if I could not wrench it from him and turn it where I would—to look across the wide seas of water and of time to Tirion the Fair, and perceive the unimaginable hand and mind of Fëanor at their work, while both the White Tree and the Golden were in flower!’ He sighed and fell silent.
The Two Towers, Book 3, Chapter 11
***
Saruman is convinced that recovering the lost Palantíri will help in the fight against Sauron. In this scenario Saruman sends heroes out to find the lost Palantíri and learn to use them without succumbing to Sauron’s dark will.
You will have to search for 4 Palantíri, keep all 4 in play, and use each Palantír at least once in order to win the game. Though when I started developing this scenario I was unaware of it, this scenario has later taken some inspiration from The Stones of Feanor.
To win this scenario you need to fulfil five conditions:
- You need to get four Palantíri in place at four different locations: The White Towers, Isengard, Minas Tirith, and Lossadan Cairn.
- You need to use each Palantír at least once.
- After the fourth Palantír is used, you need to survive 2 more turns.
- Only 3 Palantíri have to be in play at the end of the game (you cannot store them in a haven!), but you need to have played and used all 4 during the game.
- Saruman should not be corrupted (you can still win if he is killed, provided the other 4 conditions are met).
You automatically lose the game when Saruman is corrupted, or when you lose more than 1 Palantír (by any means). When your resource deck runs out, you have 6 more turns to complete the game (reshuffle your resource discard pile to create a new resource deck). If you do not complete the objectives within this period, you automatically lose as well.
The Palantíri
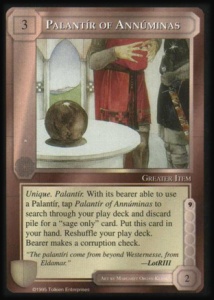
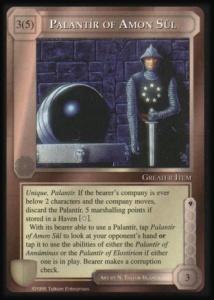
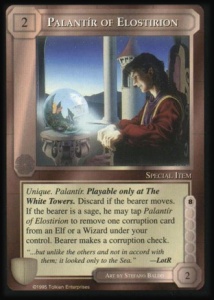
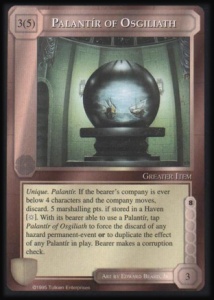
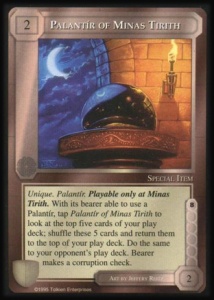
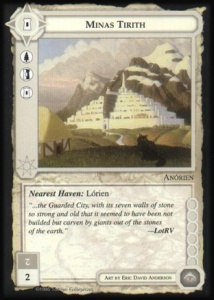
There are six Palantíri: the Palantír of Annúminas, of Amon Sûl, of Elostirion, of Osgiliath, of Orthanc, and of Minas Tirith. The first three of these were the Stones of Arnor, the northern realm of the Númenorians, founded by Elendil in the region of Arthedain. They were established in Annúminas, Amon Sûl (whose ruins are Weathertop), and the White Towers of Emyn Beraid (the tallest of which is called Elostirion). The other three were taken by Elendil’s sons to Gondor, and were established in Osgiliath, the ancient capital of Gondor; in Orthanc, the tower at Isengard; and in Minas Anor, which became later known as Minas Tirith.
There was a seventh Palantír brought to Middle-Earth. It was brought to Minas Ithil, which became known as Minas Morgul after it was captured by the Ringwraiths. The Palantír is now in the hands of Sauron, and it is the reason the other six are now so dangerous to use, as Gandalf explains to Pippin.
The first six Palantíri are included in The Wizards. Three are rare (Annúminas, Amon Sûl, and Orthanc); the others are uncommon. You will need 4 of the six Palantíri for this scenario. Which ones you use depends obviously on which ones you own, but if you have a choice, it is wise to avoid the two 3-corruption point Palantíri (Amon Sûl and Orthanc) and use the remaining four.

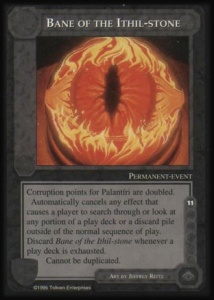
The seventh Palantír was included in Against the Shadow, as The Ithil-Stone (see here), but you cannot use this in this scenario. In this scenario, the Ithil-Stone remains in the hands of Sauron, which is why the attempt to re-establish the Palantíri is so dangerous. However, the Palantír of Minas Ithil does appear in this scenario, through the hazard Bane of the Ithil-Stone, which you have to include in your hazard deck.
The challenge of this scenario is that once you have a Palantíri in play you need to keep a character at the location of the Palantír until the end of the game. This means that by the end of the game you probably have four different companies guarding four different locations. You’ll need to ensure that each company is able to withstand any attacks they might have to face at their location. In other words, you will need strong characters guarding each Palantír, and this will quickly lead to a shortage of general influence. It will also force you to break into small companies of one or two characters, which means they are also more vulnerable to attacks.
However, the real challenge comes from corruption checks. Every one of my unsuccessful attempts at completing this scenario has been due to corruption—either Saruman or other bearers of a Palantír were eliminated due to corruption.
Location Deck
The Palantíri have to be established in four strategic locations: Isengard, Minas Tirith, The White Towers, and Lossadan Cairn.


The other locations should be in the vicinity of these four “Palantíri locations”. Since you will not play factions in this scenario, use a few sites that will let you play useful items or allies.
You can only have two havens. One should be Rivendel, which is your starting location. The other can either be Lórien or Grey Havens.
Characters
Since you need to use the Palantíri to win this scenario, you’ll need plenty of sages, but since they’ll also have to be able to withstand attacks at the sites where they guard the Palantíri, they’ll need to be either sufficiently strong themselves, or be in a company with strong warriors.
A lot of resources that help against corruption can only be used by Diplomats, so it is wise to include at least some of these. There are a few Diplomats who are also Sages: Saruman is one, as are Círdan and Elrond (who are too powerful to use both), but so are Galva and Halbarad (though both are rather weak).
The only Hobbit you can use in this scenario is Pippin. Note, though, that though Pippin can bear a Palantír, he cannot use it, unless the Palantír is aligned (see below).
Saruman is the Wizard of this scenario.
Resource Deck
As mentioned above, you will have three main challenges: a shortage of general influence, small companies facing repeated attacks, and corruption. Your resource deck should be tuned to help you deal with these challenges.
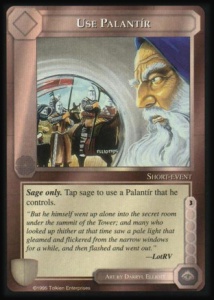
But lets start with the Palantíri: you obviously need to include four Palantíri in your resource deck. But you also have to use each Palantír at least once to win the game. Saruman can tap to use a Palantír, and you could use him to travel to each of the four locations to use each Palantír, but that will likely be very challenging. A sage can use the Palantír of Elostirion merely by tapping, but for all other three they will need to use Use Palantír. A sage can also play Align Palantír to give any character in his company use the Palantír, but be careful with this, as the card adds 2 corruption points to the Palantír, until the company moves (at which point they also lose the ability to use the Palantír). Fate of the Ithil-Stone may at first appear helpful—because it reduces the corruption points of each Palantír by 1—but, since the 7 MP it gives you is useless in this scenario, it is probably too much trouble to gain so small an advantage that I do not recommend using it!

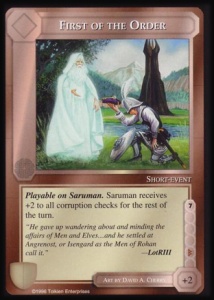
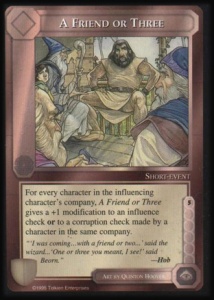
There are a lot of cards that help you with corruption checks. Old Friendship and New Friendship help with corruption, but require a diplomat. First of the Order helps Saruman. Pledge of Conduct allows you to give an item a character bears, like a Palantír, to another character when forced to perform a corruption check, but again it requires a diplomat and will therefore be of limited use. When I Know Anything can only be used by a sage, but needs to be obtained at an “Information” site and forces the sage to also perform a corruption check, but the advantage is permanent. Since your companies will likely be small, A Friend or Three might not be very useful for most of your characters, but could be helpful for any characters Saruman controls with direct influence—he could easily head of a company of 4, which would give you a +4 in corruption checks. Glamour of Surpassing Excellence can be very effective at Border-holds or Free-holds for removing multiple corruption cards without tapping your characters.


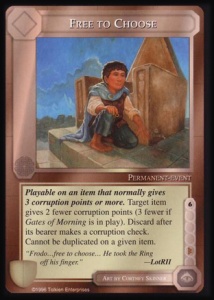
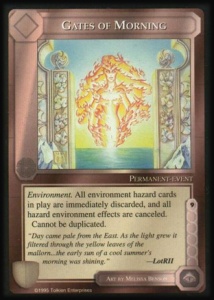
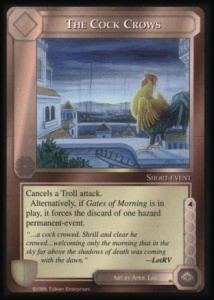
If you use the Palantír of Amon Sûl or Osgiliath (which both have 3 corruption points), Free to Choose is good to include, as it reduces their corruption points to 1, or even 0 if Gates of Morning is in play (though it will only do so until after a corruption test). When played in combination with Gates of Morning, The Cock Crows can remove a hazard permanent event, like Bane of the Ithil Stone, which doubles the corruption points of Palantíri.
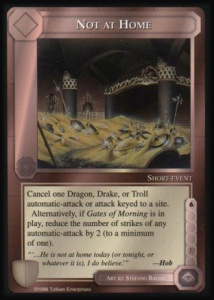
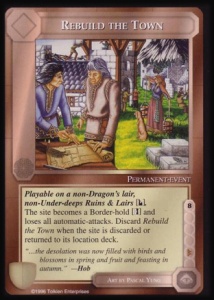
To deal with automatic attacks at sites, you can use Not At Home, which can reduce the number of strikes of automatic attacks to 1 but can also cancel any of the more powerful attacks keyed to a site (like Dragons and Drakes; see below). Rebuild the Town removes the automatic attack from a Ruins & Lairs site, and will therefore come in handy when you have to keep a Character with a Palantír at a particular location with an automatic attack (i.e. every site except Minas Tirith). Noble Hound can be useful to handle attacks at sites, especially when used in combination with Rebuild the Town. If you have some scouts, Concealment can be useful to keep your (moving or non-moving) companies safe.

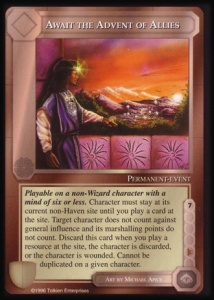
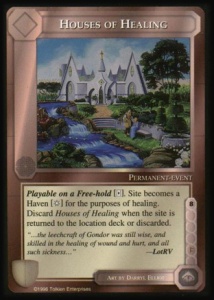
Houses of Healing can be played at Minas Tirith: it will turn the site into a heaven for the purposes of healing. With companies spread across four different sites you will quickly have a shortage of general influence. Await the Advent of Allies, which makes a character at a non-haven site not count against general influence, can make this a little easier. Items like Elf-Stone will also come in handy, especially since many elves are sages.

In theory you could play this scenario with only the Palantíri locations and only the Palantíri as items, but you’ll likely want to equip some of your characters with some weapons or armour, to help them survive the constant attacks at the Palantíri locations. Since you will be constantly fighting corruption, choose items with low corruption points, like the powerful Glamdring, a major item which gives you +3 prowess for just 1 corruption point. Healing items, like Healing Herb will be useful for characters that can’t travel to havens to heal, and Cram will help non-moving small companies face multiple attacks (Dodge and similar short events are obviously useful for that too).


Hazard Deck
Since you will have to draw 6 hazard cards for 3 of the four Palantír locations each turn one of your companies guards a Palantír there (and 4 for The White Towers), you will cycle through your Hazard Deck very frequently, which means that you will draw each of your deadly hazards (including all corruption hazards) much more frequently than in most other scenarios. Keep this in mind when you are building your Hazard Deck.
Your Hazard Deck should have two main objectives: corrupt your characters, particularly those bearing Palantíri, and attack companies at sites. You will obviously need hazards for moving companies as well, but since you will have an increasing number of non-moving characters in this scenario, your hazard deck should be able to target them as well.
Every Palantír gives either 2 or 3 corruption points, and your hazards should take advantage of this. As mentioned above, you have to include Bane of the Ithil-Stone, and this will prove challenging: it doubles the corruption points of all Palantíri and remains in play until the (hazard) deck is exhausted. When combined with some corruption cards, you’ll have to work hard to avoid losing the bearers of a Palantír to corruption.
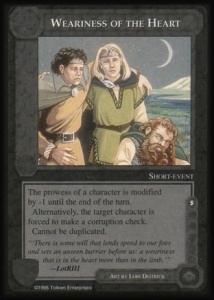
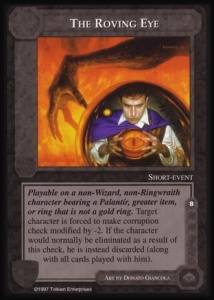
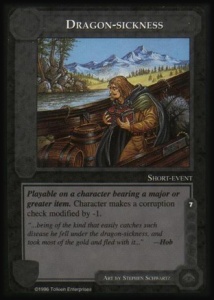
For moving characters Lure of Nature can prove especially fatal, since your companies will travel mostly through Wilderness, but Despair of the Heart, which forces a Character to make a corruption check each time someone in his or her company is wounded, can be equally effective for characters who do not move (though it is easier to remove). Since you will be cycling through your hazard deck very frequently, your corruption cards will reappear often, so do not include too many of them. (I’ve used 3 or 4 of them in a 40 card hazard deck.) You will also need cards that force them to make corruption checks. Weariness of the Heart and Dragon Sickness are good for this, as is The Roving Eye.
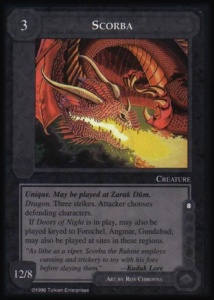
You’ll also need hazard creatures that can be played at the sites where your companies will guard the Palantíri. This means you need hazard creatures that can be played at Ruins & Lairs, Free-holds (Minas Tirith), or Border-holds (when Rebuild the Town is used; see above). The first are rather common—many Orc hazards can be used for this, as can other common hazards, like Cave Drake, or Light-Drake. Hazard creatures for Border-holds and Free-holds are rarer (which is why Rebuild the Town is so helpful), but you can include Sellswords Between Charters or Slayer for Border-holds. Keep in mind that you can also use creature hazards keyed to sites of a particular region. When Doors of Night is in play Scorba can attack a company at Lossadan Cairn, and will prove particularly deadly.


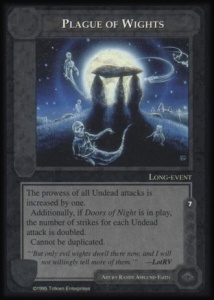
Lossadan Cairn has an undead automatic attack, and forces corruption checks for wounded characters. Plague of Wights can increase both the strikes and prowess of this attack. Chill Douser increases the prowess and strikes of any undead if undefeated, and can be played at Ruins & Lairs. Wisp of Pale Sheen can also be played at such sites, and though it isn’t the most powerful creature hazard, it forces a character with a mind of 6 or less to tap, which can be deadly when used in combination with other attacks, especially when used in Plague of Wights is in play.


Your hazard deck should also take advantage of a site’s automatic attacks. Events like Choking Shadows, Awaken Denizens, Incite Denizens, or Arouse Denizens increase the prowess and strikes of automatic attacks at Ruins & Lairs, and Fell Winter adds an automatic attack to a Border-hold.


Since your companies will mostly move through wilderness regions, you need some hazards keyed to such regions, but since by the end of the game you will have four companies that are not moving, chose hazard creatures that can also be played at sites, as mentioned above. Again, Orcs are good for this, since many can be played at both Ruins & Lairs sites and Wilderness regions.

I’m excited to try this scenario, but one part confuses me. You say that 6 hazards will be drawn for most of the sites where a company is guarding a Palantir, but if I’m not mistaken, even though the hazard phase still occurs and hazards can be played, no cards are drawn if a company isn’t moving. Am I misunderstanding the rules, or is this a change you use in your solo gameplay?
Yes, that is one of my own rules for solitaire games (though I had forgotten that–my apologies for the confusion): If a company stays at a location (other than a Haven), you do not draw resources, but you do draw hazards and play any you can, up to the hazard limit for that company. That felt more thematic to me, and it is also a little more challenging (but not too much, since most of the hazards you draw are probably not playable).
Nice!! Thanks for sharing
Had a good couple of challenging runs on this one. As you noted, corruption is your main concern here. I cannot tell you the pain I suffered after rolling double 1s on a corruption check for Saruman that crashed one of my runs :P. Good scenario, although I don’t use the auto-draw change you mentioned above and always check a die roll before playing hazard cards
I suppose if anyone would fail a corruption check that badly, it would have to be Saruman!